Build any commerce experience
Compose, customize, and extend every part of the commerce stack—from storefront to checkout to backend integrations—and create unique experiences for your brand or millions of merchants around the world.
A complete set of APIs, primitives, and tools designed for commerce
Shopify’s platform provides APIs, SDKs, primitives, and tools for building storefronts, custom cart and checkout flows, and seamless integrations with your systems.
Get full flexibility to assemble, customize, and extend the entire commerce experience, all with the backing of our global infrastructure, scalability, and reliability.
-
APIs in GraphQL and REST
-
React-based framework and component library for accelerating storefront development
-
Commerce primitives for building subscription plans, selling B2B, expanding internationally, and more
-
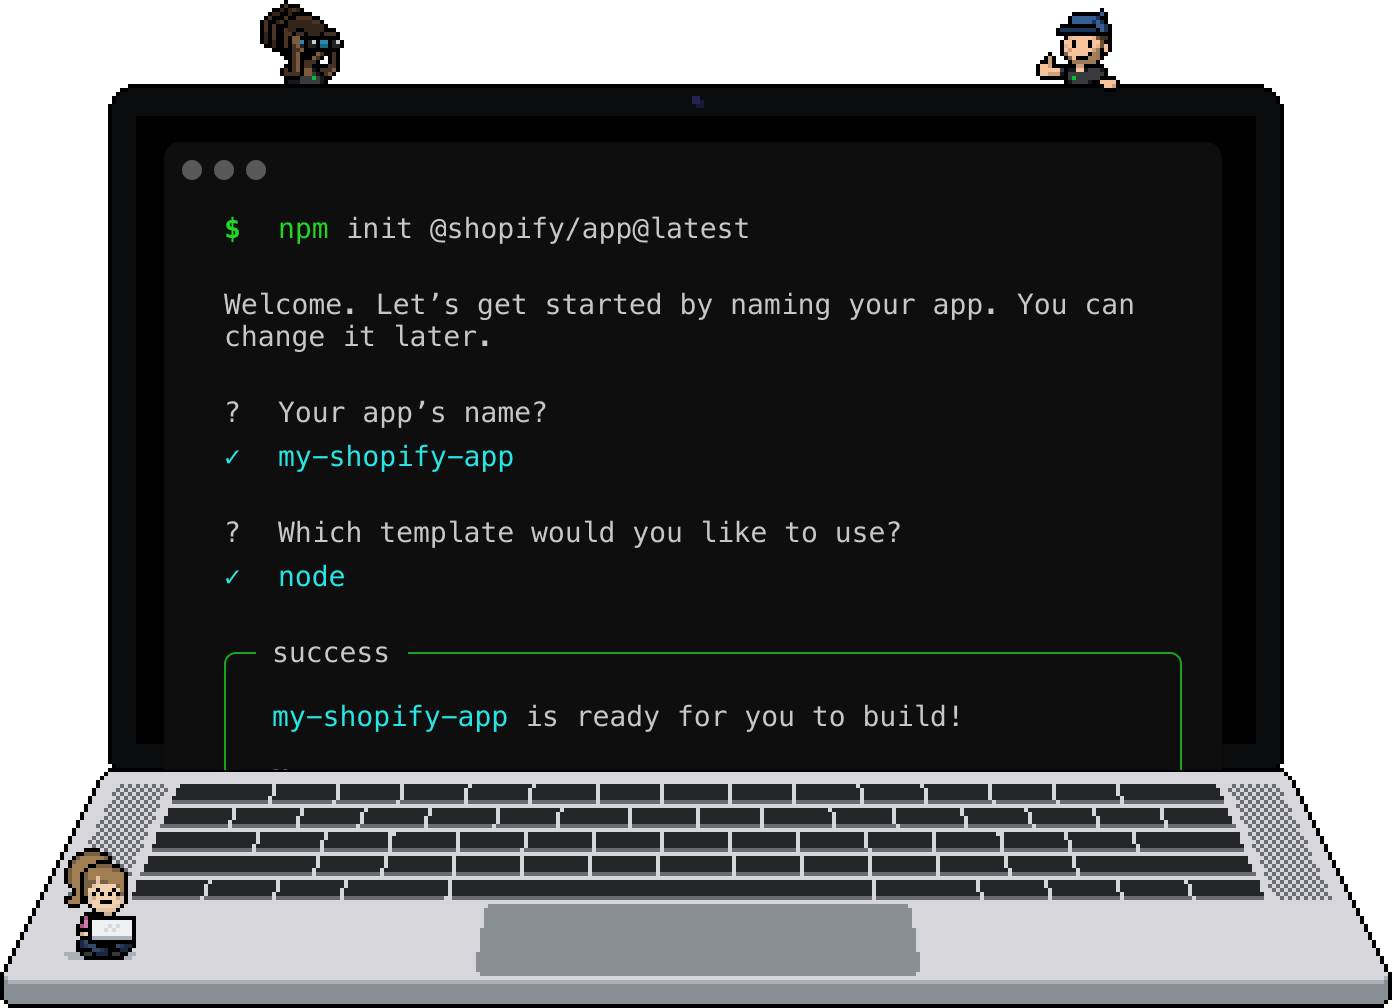
Shopify CLI for building, testing, and managing your integration
-
Ready-to-use UI components for getting started quickly
-
Ecosystem of prebuilt and reference implementations for integrations with systems like Netsuite and Sanity
Best-in-class developer experience
Accelerate development, testing, and deployment with our suite of tools, including the Hydrogen framework, Shopify CLI, example apps, and development stores.
Build quickly with official libraries for popular frameworks and languages from JavaScript and React to Node, Ruby, and PHP.
Flexibility & extensibility without compromise
Designed for scale
Build custom solutions using the same components and infrastructure from Shopify that powers 10% of all US commerce.
Global infrastructure
Our global footprint spans 275+ points of presence to deliver 100ms average Storefront API response times.
Battle-tested reliability
Shopify’s platform powers the largest brands and sales events in the world, offering peace of mind with 99.99% uptime.
Continued innovation
We’re always improving our platform, and investing in open source tools like Hydrogen and Remix for building storefronts.
A built-in, global audience
Build and sell apps and themes that customize and extend Shopify’s capabilities for millions of merchants around the world.
The Shopify App Store and Theme Store make it easy to build great experiences that attract merchants and open up new revenue streams.