For those who like to dabble with Shopify themes, you might have noticed a pretty significant change in the design/development workflow. Until recently, the "settings.html" file was responsible for structuring the theme options interface in the admin. This has now been replaced with "settings_schema.json"
Essentially, the theme options got a behind-the-scenes facelift, transforming the former tabular structure into a clean and easy to read format. Other files like “Locales files” and “settings_data.json” were already formatted as JSON, so it only made sense to put all the apples into one basket.
You might also like: 4 Advanced Shopify Theming Techniques to Add to Your Workflow
JSON
For those who are unfamiliar, JSON is a data structure that is short for JavaScript Object Notation. It’s a way to store information in an organized and easy-to-understand pattern. For those who would like to learn more about JSON, feel free to check out this post on Wikipedia. If you'd rather not spend your time digging into Shopify’s documentation, or if you're looking for a quick intro into configuring your Shopify options interface, you’ve come to the right place!
Getting started
We’ll start by creating the shell of our theme options. We’ll break the settings down into four different sections:
- Text options
- Styling options
- Logic options
- Miscellaneous options
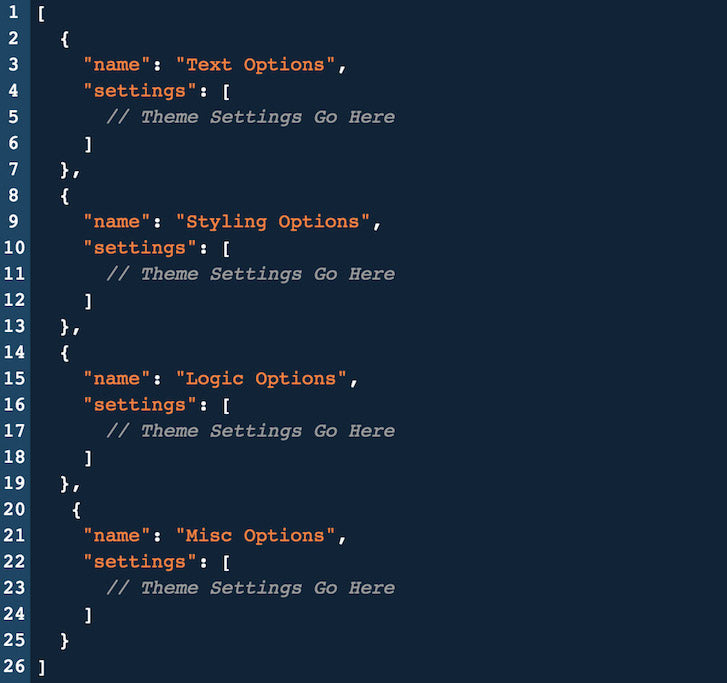
Within our shell, we’ll use seven types of theme settings:
- Text field
- Text area
- File upload
- Colour picker
- Checkbox
- Radio button
- Select dropdown
To build out a theme, theme options require four mandatory properties: Type, which defines what property is being rendered; ID, which is referenced in the theme template and generates the output/value; Label, which provides a title in the theme options to help describe the setting’s purpose; and Option, which is used for settings that allow more than one option.
Although there are other properties available, let's simplify the options to four properties for now.
Text options (Text / Textarea)
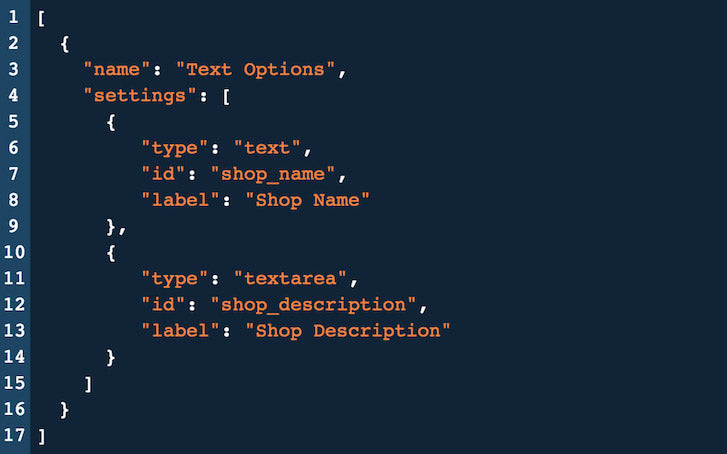
You have two options. I'll give you a brief description of each.
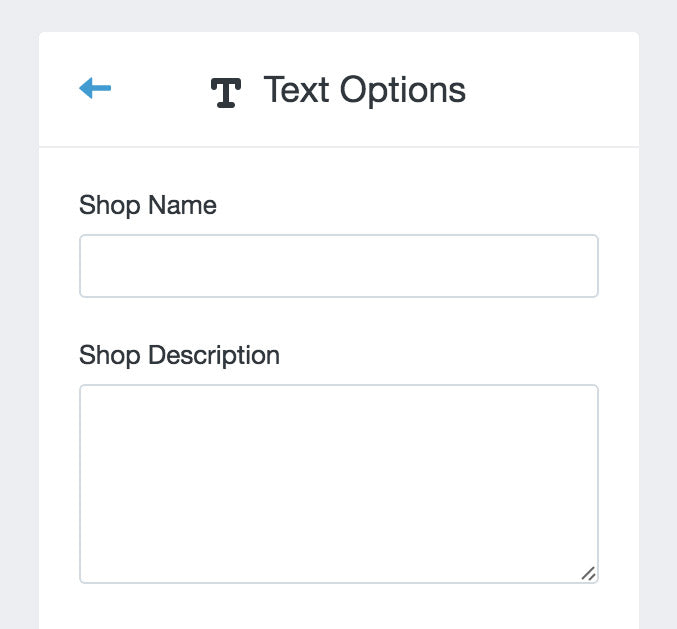
Text — The text property will render out an editable text field. Content can be entered into this field and displayed in the theme’s rendered web page.
Textarea — Similar to the text field (but larger in size), a textarea allows a greater amount of characters to be entered and displayed. Tip: HTML tags can also be rendered into normal text when entered.
Go behind the scenes with this CodePen.
Here's what the output looks like:
You might also like: 4 Essential Tips for Building Your First Shopify Theme
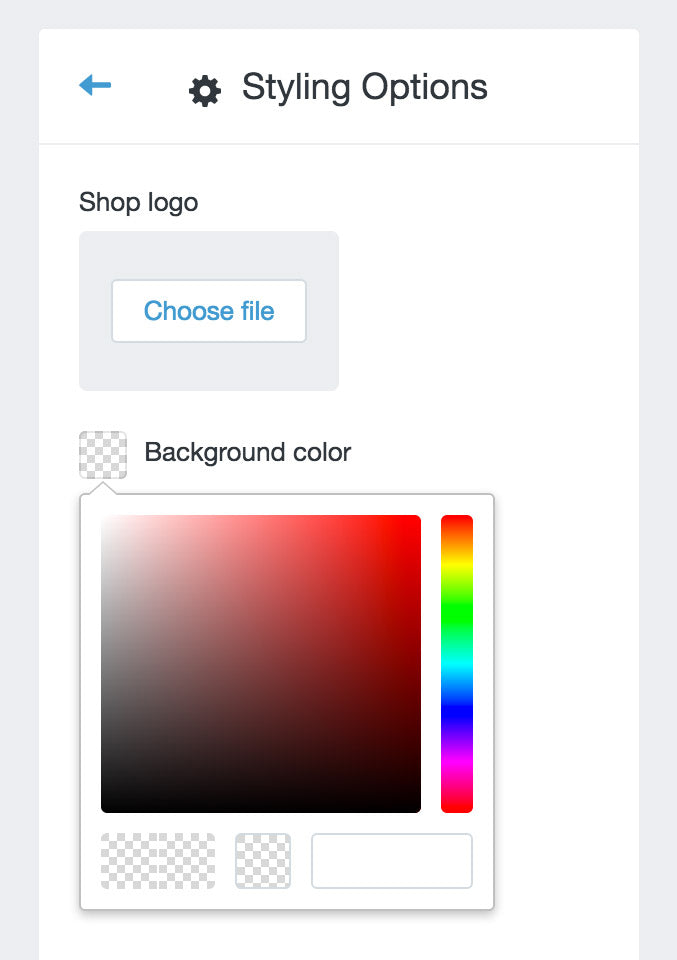
Styling options (File & Image Uploader / Color Picker)
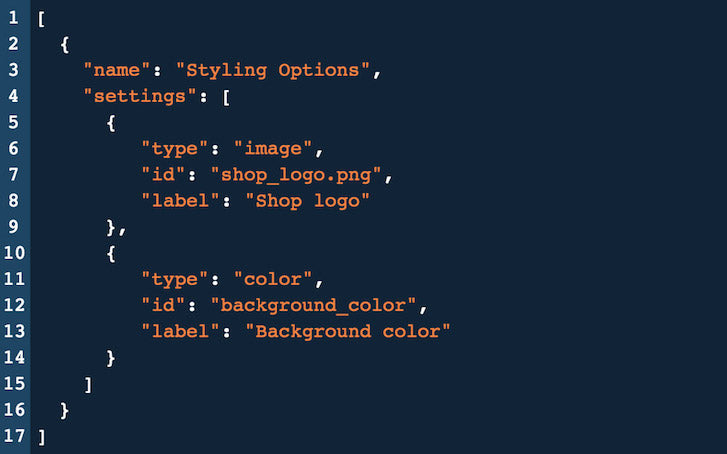
Image — The image property renders out into a file field allowing users to upload a variety of different file formats (JPG, PNG, GIF). Tip: Files uploaded through this field can be found in the “assets” folder, saved under the name of the ID’s value.
Color — The color picker is a visual interactive popup that allows us to obtain a hex color code.
Output:
Logic options (Checkbox / Radio / Select Dropdown)
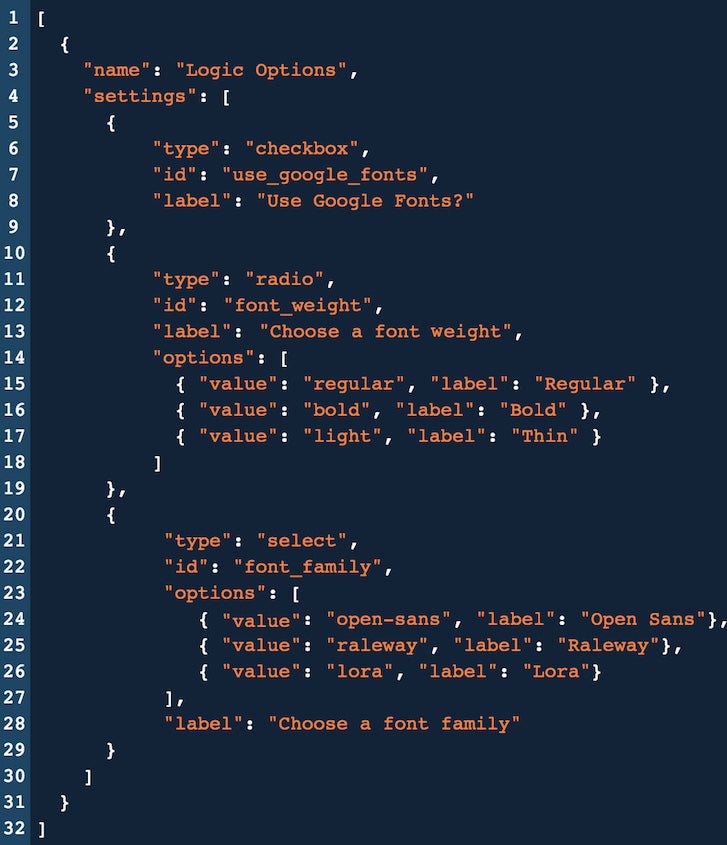
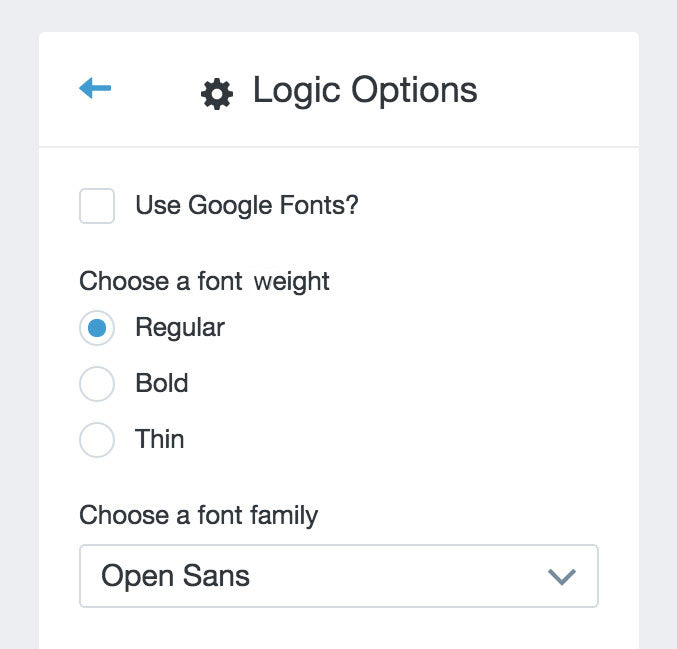
Checkbox — The checkbox property creates a field with a tick-able option. This field is very useful when defining a true or false value in a conditional statement.
Radio — Radio buttons allow us to create multiple options that users can choose one by one. By default, the first option is selected if not defined.
Select — Similar to the radio button, the select field is formatted to hold multiple options. The field’s drop-down functionality is better suited for a larger variety of values compared to radio buttons.
Output:
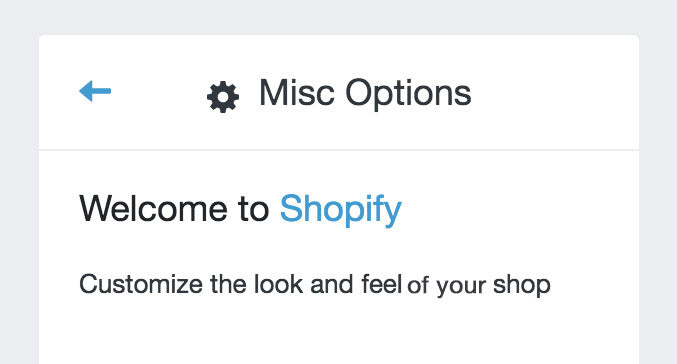
Misc. Options (Header / Paragraph)
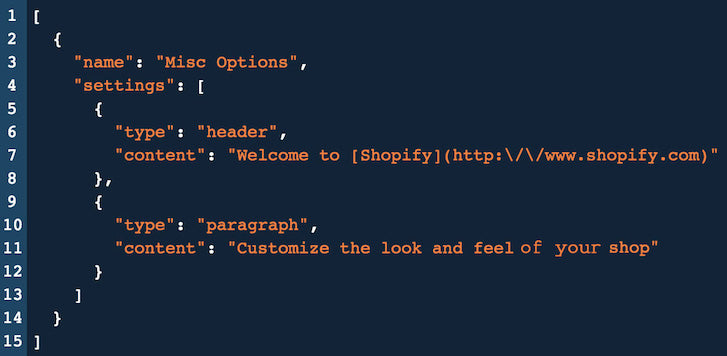
In the Misc. Options, we’ll be working with two settings:
Header — The header property allows settings to be organized by outputting a title to categorize options.
Paragraph — This property is very useful when adding instructions or leaving a call to action.
Output:
Wrapping things up
Configuring a theme through the theme option interface is easily one of the most powerful tools that Shopify has to offer.
Hopefully this article has pointed you in the right direction to help you when customizing theme settings in the future.
Read more
- How to Upload Files with the Shopify GraphQL API and React
- Introducing Online Store 2.0: What it Means For Developers
- What is a Canonical URL? Best Practice Guide 2022
- Using JQuery Zoom and JavaScript Zoom for Product Images on Shopify
- Creating Dynamic Color Schemes with Theme Options and Presets
- How to Create Your First Shopify Theme Section
- How to Work With Shopify Theme Blocks
- How to Use Liquid's \"case/when\" Control Tags in Shopify Themes
- Free Webinar] Developing with Shopify: Using JavaScript to Add Ecommerce to Any Website
- How to Refactor a Shopify Site for Javascript Performance
You might also like: The Essential List of Resources for Shopify Theme Development


