Looking for creative ways to attract new clients? A sure-fire way to close the sale and gain more happy customers is to deliver value before signing on the dotted line.
As a Shopify Partner, it's important to set yourself apart from the general noise of internet marketing.
So how can you deliver value to your prospects or increase the size of your existing retainer contracts?
You might also like: The Ultimate Guide to Finding Web Design Clients.
Webinars
Webinars are highly effective marketing and sales tools for any level of the sales process. For example, webinars attract large numbers of leads for the top of your funnel; they are also an incredible way to scale the efforts of your sales team to close sales at the end of your sales process.
Let's dissect how to host, promote, and generate revenue from webinars. You can also check out our Learn With Shopify video below which is geared towards merchants, but has a ton of great information for Shopify Partners and Developers as well.
You might also like: How to Host a Shopify Meetup
How to host a webinar
Before going to the trouble and investment of hosting a webinar, it is important to identify the key pain points your ideal customer is facing. When you address these frustrations, your webinar attendance will skyrocket and set you up as a trusted authority in the eyes of your prospect.

Once you have a topic selected, choose a speaker who is knowledgeable and respected. This may either be someone in-house or an outside expert. Either way, your attendees will see the value in your brand by answering their questions so early in the process.
When hosting a webinar, I recommend you have both a speaker and facilitator. This helps the presentation flow smoothly and minimizes awkward silence or technical issues. The facilitator should introduce the speaker and handle the question and answer period at the end so the speaker can focus on presenting.
How to prepare for your webinar
Webinars are much simpler than a live presentation — and nearly as effective at converting prospects into customers!
Once you've decided to host a webinar, define a clear and articulable goal. For example, if the goal of your presentation is to attract leads, then set a number or conversion rate. If the goal is to sell your Shopify app, then set a revenue goal and measure the cost of customer acquisition.
After your goals are set and your speaker and topic are chosen, you'll need to start marketing and accepting registrations for attendance. This step can seem daunting, but I've provided a step-by-step road map for you to follow to ensure your event is a success.

Recommended webinar tools
Your webinar will fail to meet your goals if folks cannot register to attend. Here, I cover my recommendations (and offer some alternatives) to make registration easy and painless for your attendees.
This is a critical step for converting anonymous visitors to marketing qualified leads.
Collecting Registrations
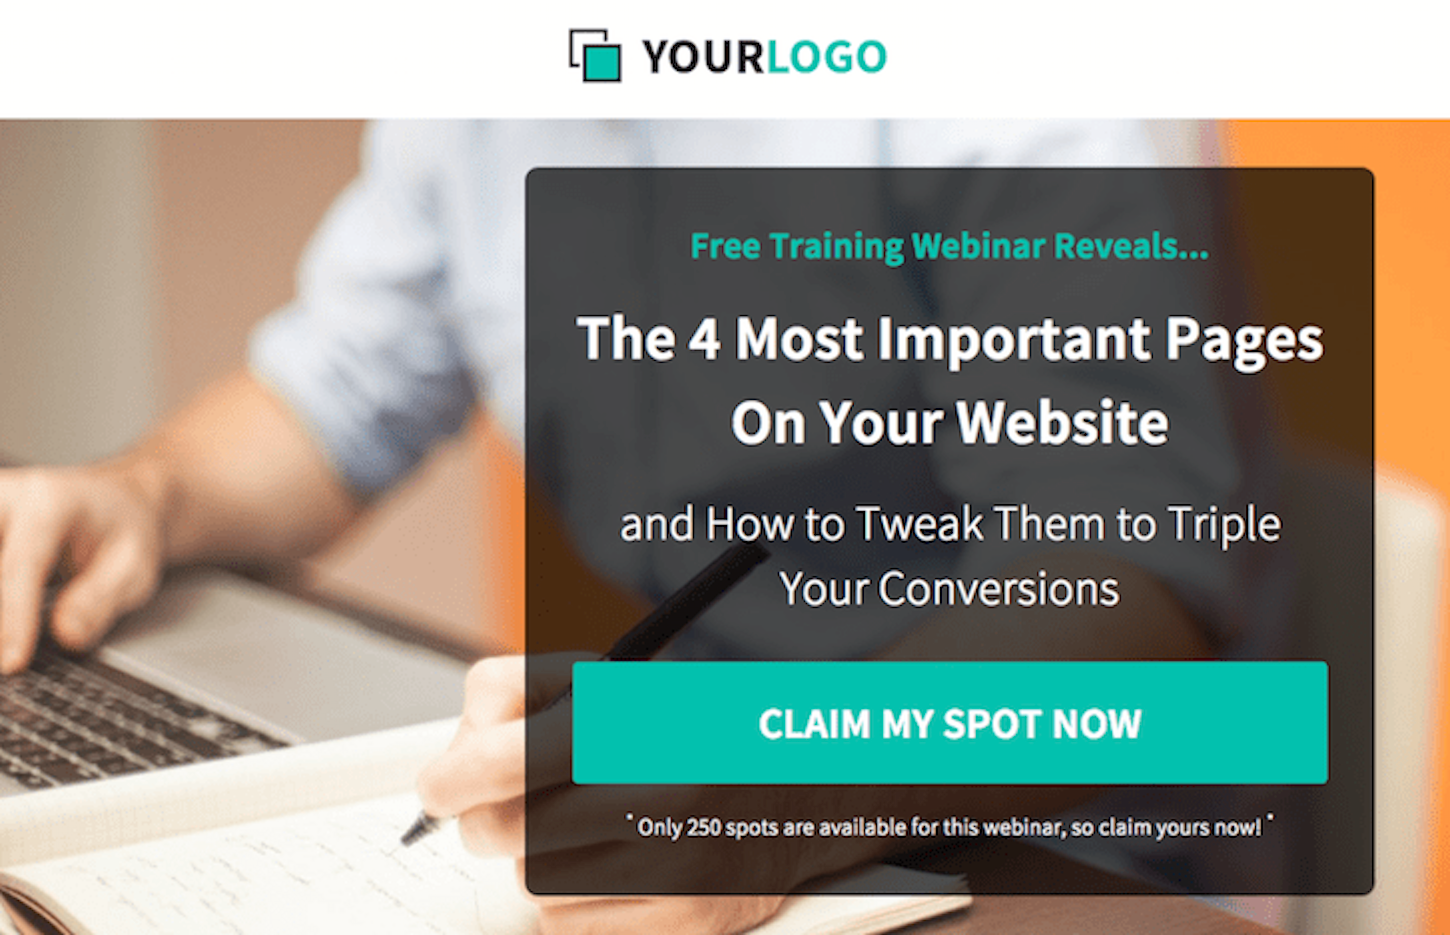
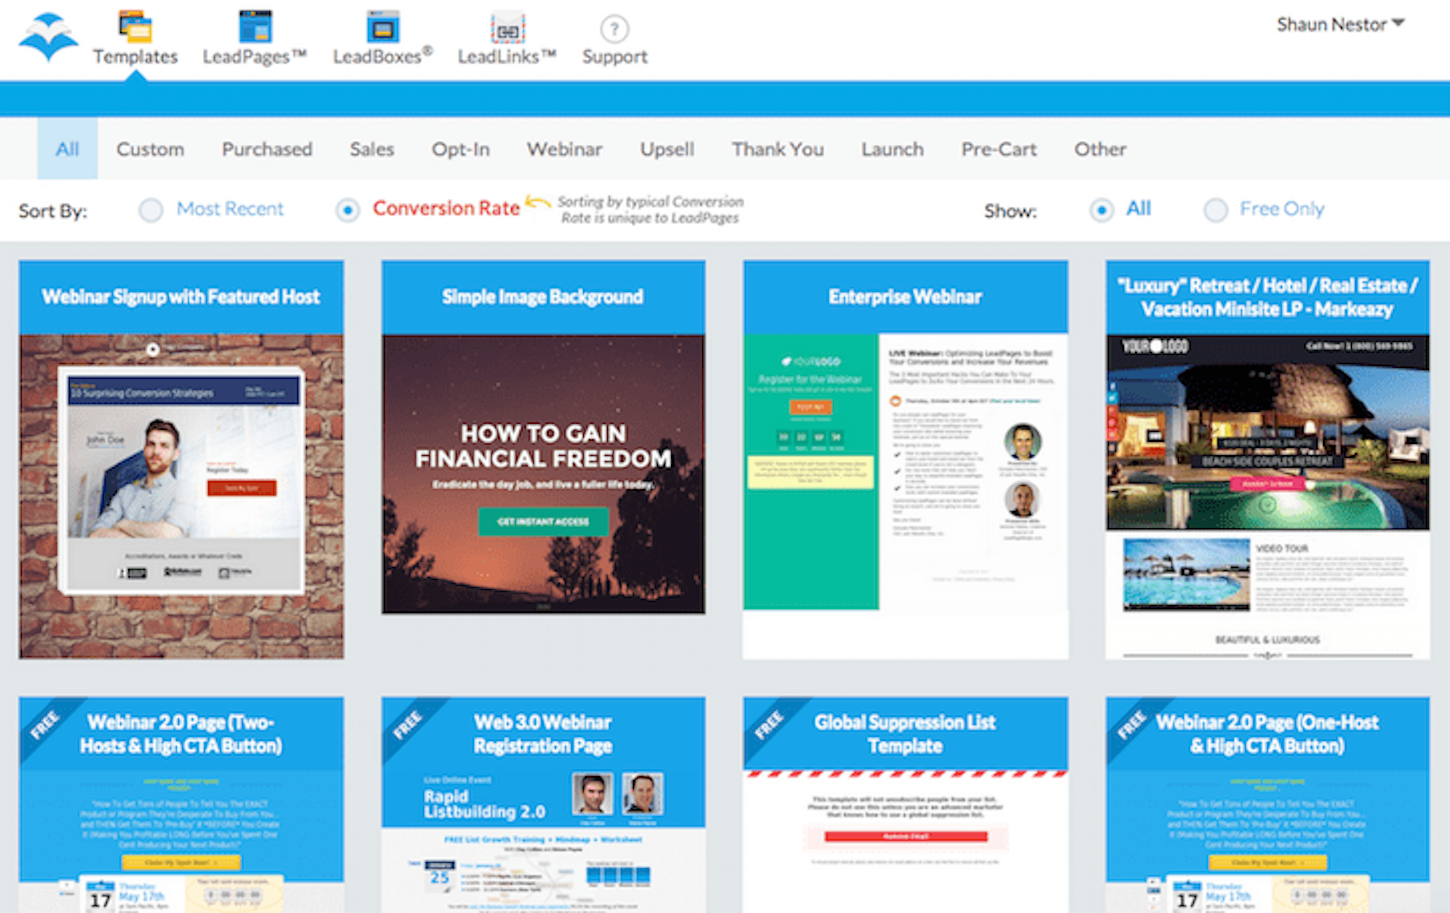
I like the ease of use and integration features of LeadPages. They continually test the latest trends to find high-converting layouts for your landing page.
Your landing page is the place on the internet where you will promote and drive traffic to, which I'll get to in a bit.
LeadPages supports A/B testing, in-depth analytics, and mobile responsive themes to make your job easier and prospects happier.

As an added bonus, you can use Zapier to integrate LeadPages and Shopify for added ease of database management.
(If you're interested in using LeadPages, you can get a a 30-day free trial here.)
Alternatives to LeadPages include Unbounce, Optimize Press 2.0, Rainmaker Platform, or your own Shopify website.
Hosting the webinar
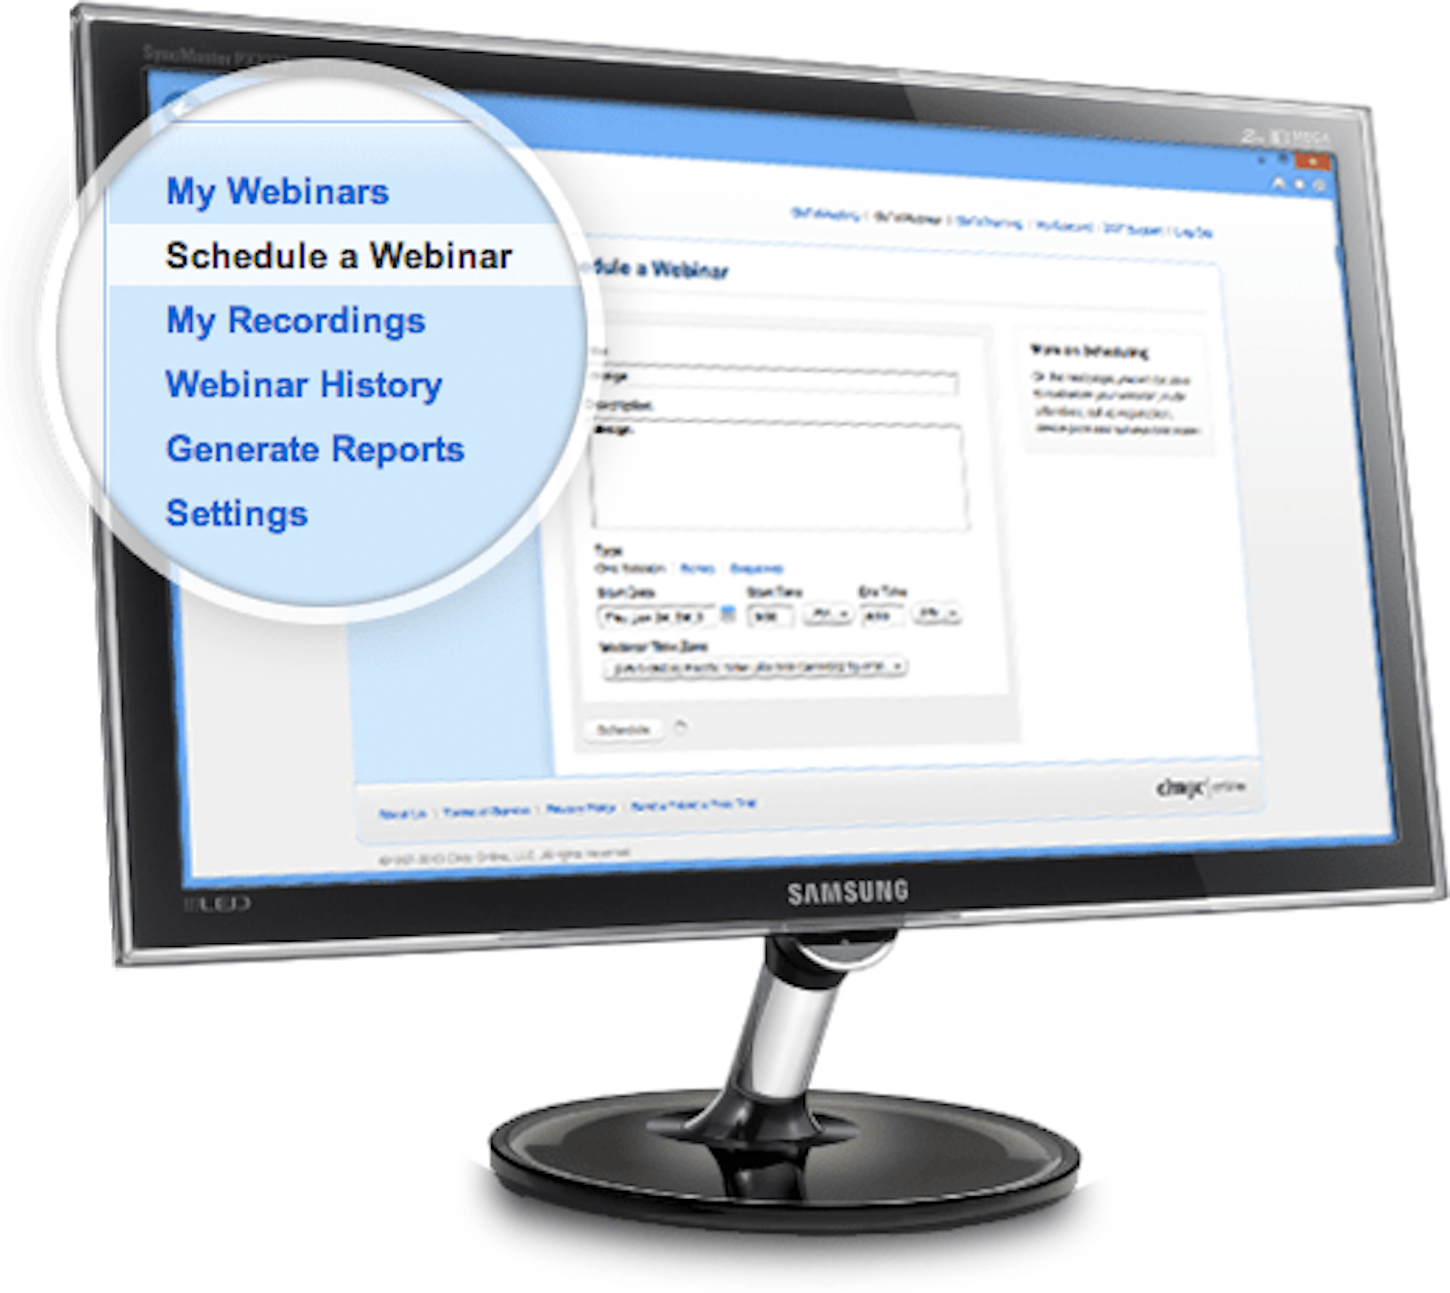
For actually hosting the webinar, I highly recommend GoTo Webinar. Their platform is one of the most established in the webinar world.
GoTo Webinar has a powerful set of tools that allows the facilitator and presenter to share the screen, a question and answer module, live chat with attendees, and the pre-event confirmation with call-in codes.
This takes a lot of pressure off you as the host of the webinar by not having to send out reminders or confirmations to your registered attendees.
GoTo Webinar also has a free 30-day trial.
If you don't want to use GoTo Webinar, you can check out WebEx or Join.me.
LeadPages and GoTo Webinar integrate with each other, so you can drive traffic to your LeadPages landing page where they register, and automatically sync with your GoTo Webinar event. This triggers the automatic confirmation email and reminders that I talked about earlier.
How to promote your webinar
Now that we have laid the foundation of your webinar, we need to promote it and drive web visitors to your registration page.
I encourage you to conduct a "marketing blitz" to get the word out. I've found that between 10-14 days before your event is a good time to start actively promoting your event.
For best success, develop a marketing calendar and lay out out specific dates, times, and messages you will publish across your various platforms.
Stuck for ideas? Here are some ideas to consider when promoting your webinar:
Social media
Facebook is a highly engaging platform. If you have any sort of audience or following on your professional page, start talking about your webinar and sprinkle promotional messages along with your regularly scheduled content.
Additionally, Facebook's pay-per-click advertising platform is arguably the best advertising network for highly-targeted ads. Use Facebook's Power Editor to target your ideal customer or upload your existing email database to reach a similar audience.
Based on your customer, close rate, and average deal size, your campaign budget for paid ads will vary. Choose a daily spend limit that you're comfortable with. I've found that as little as $5 per day can generate measurable traffic to your registration landing page.
Twitter's audience is very different from Facebook, but it is still an incredible source of prospecting and attracting leads to your webinar.
Monitor hashtags and keywords your ideal customer is using — not the terms you and your industry colleagues use.
You can tastefully join a conversation or extend an invitation to those on Twitter to your webinar.
Twitter also has an advertising service where you can target Twitter users. The ability to filter your reach is more limited than Facebook, but if your audience is Twitter-savvy, consider allocating part of your advertising budget to the Twittersphere.
LinkedIn is traditionally a B2B platform, but it's reinventing itself as a person-to-person network and a content marketing platform. Consider posting your authoritative content to LinkedIn Pulse to generate interest for your upcoming webinar. The more value you add to a prospect prior to them contacting your sales department, the more likely you are to close them as a customer.
Instagram is another social network that works well for businesses. Depending on your audience, focusing on the visually-driven platform may result in folks checking you out and registering for your webinar.
Make sure you have visually-appealing content that focuses on the benefit of attending your event. Keep the words on the image to a minimum; that's what the caption is for.
For best results, add five to seven relevant and popular hashtags to a secondary comment to keep your caption nice and clean.
Your website/blog
Write a blog post
Your website should be the hub of all you do online. It is the one platform you control.
Write a 500-750 word blog post about the topic of your webinar. This serves as a top of the funnel "teaser" to generate interest for your presentation. Blogs are loved by search engines, so in addition to generating traffic through your social media profiles, search engines and human visitors to your website have an opportunity to see you as an authority on the selected topic.
Banner CTA
At the end of your blog post, include a graphical CTA (call to action) for visitors to register for your webinar. Once you've demonstrated your knowledge and expertise of the topic, people are more likely to take the next step to learn more. Giving them "something to do" keeps the conversation going and results in higher attendance.
Sidebar CTA
Just like the banner CTA mentioned above, your entire website should promote your webinar. Put a smaller CTA on each page of your site to extend the reach to all visitors.
Exit popup
Finally, use an exit popup to promote your event. While most people agree popups are highly annoying, they have an incredible conversion rate for both webinar registration and email signups. Don't let visitors leave without the opportunity to capture their contact information.
Your mailing list
Sometimes your next customer is right under your nose. Send your existing prospects an invite to your upcoming webinar, if you think it is a good fit for them.
Your existing customers may find value in the topic — but be sure to segment your audience so you are only advertising to those whose problem or frustration you are solving.
For example, if you're hosting a webinar about the benefits of your latest Shopify app, it would not be appropriate to send the invite to your customers already using it. Likewise, hosting a tutorial on advanced options or how to use the app most effectively would not be appropriate for new prospects.
Your network
Don't forget to ask for help. Tap your networks of industry friends or colleagues for referrals. They may retweet, share, or even promote your event to their list of customers if there is opportunity to add value.
Perhaps you can help them host their own webinar in exchange for them advertising yours.
The actual webinar
Now that you've done all the hard work of promoting the event and watching your registration machine crank out the leads, it's time to host the actual event.
I've found that webinars between 30 and 60 minutes do quite well. Assume about 20%-25% of that time will be used for questions and answers at the end.
Pro tip: Have some questions pre-written for the facilitator to ask the presenter at the end. This will help start the dialog with attendees as they formulate and type their questions.
I recommend doing a soundcheck with the presenter and facilitator about 30 minutes prior to the webinar, to allow time to fix any last minute technical issues. I usually have a staff member in a different room "call in" as a regular attendee to ensure the audio and visual settings are correct prior to the attendees arriving.
About three minutes prior to the published start time, have the facilitator welcome those who have called in. Explain that you will be starting shortly and cover any last minute details (like the call will be recorded, and that they can post questions in the question and answer pane at anytime).
At the published start time, have the facilitator repeat that again for folks just joining. Welcome them, explain that you will begin recording, and encourage discussion and questions in the live chat.
On average, most registered attendees arrive two to three minutes late. Keep this in mind as you are staging the content of your presentation. Some speakers give something away for free to the early birds, while others keep the good stuff until after the three-minute mark.
Don't forget to hit the record button
I've experienced a number of webinars where the facilitator simply forgot to hit the record button. This makes publishing a replay of the webinar impossible — and looks bad to the folks who were promised a replay if they registered and couldn't make it.
Next, have the facilitator introduce the presenter (some presenters provide a pre-written script that they want used) and hand over control to the speaker.
At the conclusion of the presentation, the facilitator can ask some questions to the speaker as attendees are asking their own. You'll find many of the questions are similar, so be sure to ask a question that answers similar variations as well.
Lastly, have the facilitator conclude with a big thank you to the speaker and all those who attended. I recommend having a CTA for those wanting more information or the ability to request a consultation.
There is a certain "high" for the prospect if the message of the webinar resonated with them. Strike while the iron is hot and open the door for the next step!
How to follow-up
After the actual event, it is important to follow up. I believe it is best practice to send a message to all registered attendees to thank them for registering and share a link where they can watch the recording.
A value-add may be to provide a text transcript of the presentation, the presentation in SlideShare format, or an audio format for easy listening on the go.
Once you've established your credibility on the webinar, be sure to continue adding value by nurturing those prospects. It is highly appropriate to reach out to the registrants and ask if they have any questions, or offer a follow-up document that addresses common concerns that hold up the decision making process.
Don't let those new leads go to waste, but don't assume the sale. Be helpful, and add value at each step.
BONUS: The webinar checklist
1) Select a topic
2) Choose and confirm your speaker
3) Choose and confirm your facilitator
4) Complete and practice your presentation
5) Create your registration landing page (here's some great tips for creating the best landing page possible)
6) Integrate your webinar tool with your registration landing page
7) Develop your marketing strategy for social media, blog, and email network
8) Write post-webinar questions
9) Do a sound check on the day of
10) Press record!
11) Post recording and transcript
12) Follow up with registered attendees via email or phone
Read more
- How to Get More App Downloads in the Shopify App Store
- The Secret to Persuading Clients to Hire Your Design Firm
- Web Design Experts Share Their Advice for Attracting Your Next Client
- How You Can Maximize Your Marketing With Any Budget
- The Importance of Investing in Your Own Website
- Freelancing 101: How to Market a Small Business
- Why Your Contact Page is the Most Important Part of Your Portfolio Website
You might also like: How to Attract More Clients as a Shopify Partner

