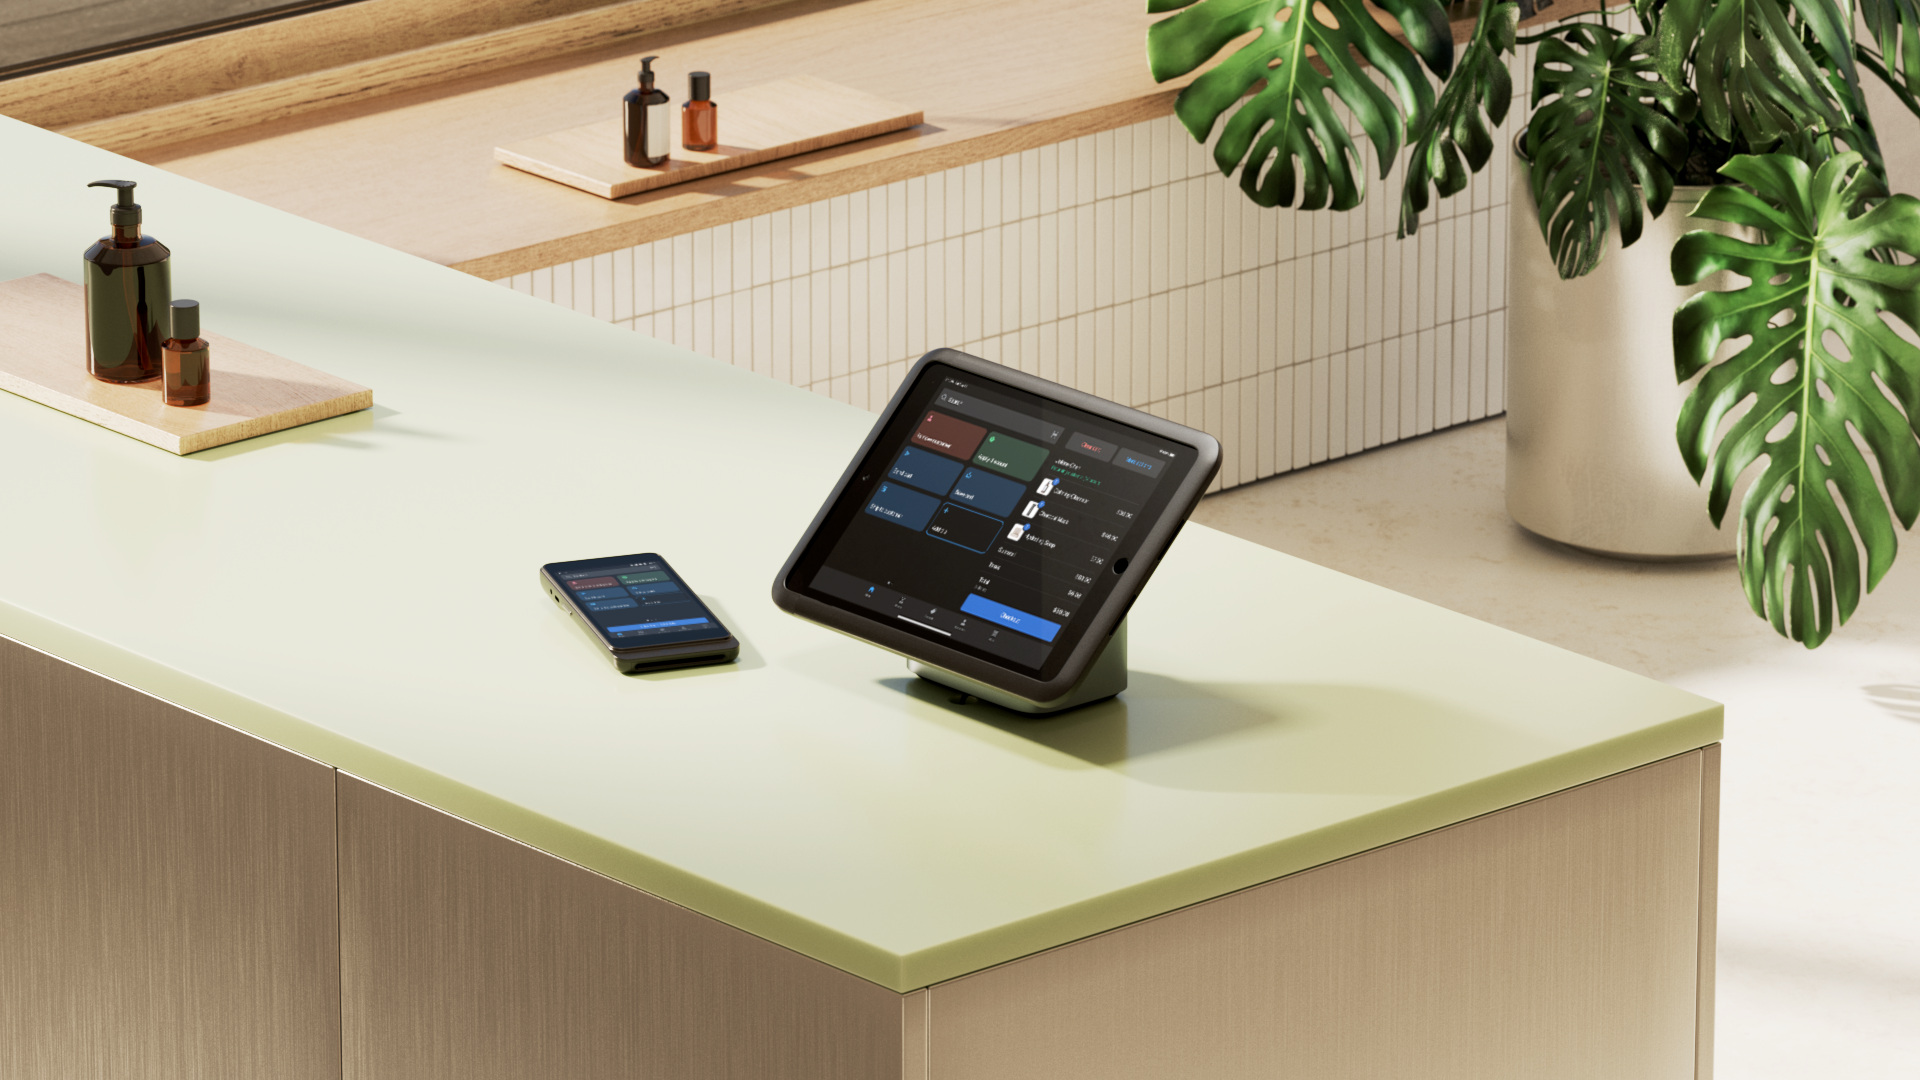
Shopify Checkout is fine-tuned for conversion right out of the box with built-in features like auto-fill, express checkouts like Shop Pay and PayPal, and local payment methods that let customers check out with as little friction as possible. You can also build upon this foundation by customizing Shopify checkout to meet your specific needs.
Checkout Extensibility can extend your visual identity through checkout, collect additional buyer information, surface post-purchase upsell, add custom back-end logic, and track customer behavior using pixels, all without modifying the underlying checkout code.
Customizations built this way are safe from upgrade charges, as Shopify retailers automatically gain access to new checkout features as soon as Shopify ships them.
“What I love about Shopify is that it is constantly evolving at a rapid pace, which is evidenced by additions such as Checkout Extensibility,” says Yuki Maeda, digital marketing and ecommerce specialist at En Gold. “We are excited to further leverage customizations and create a tailored experience for our B2B customer accounts.”
This guide shares how to customize Shopify checkout, with examples from brands who’ve personalized their customers’ checkout experience on Shopify.
What customizing Shopify Checkout means in 2026
Shopify Checkout customization now covers four connected surfaces from the checkout and accounts editor:
- The checkout pages themselves
- The “thank you” page
- The order status page
- Customer account pages
Shopify Checkout customization runs on Checkout Extensibility, a framework of apps, branding tools, and back-end logic that is regularly updated and improved by Shopify. It replaces the legacy checkout.liquid approach which Shopify retailers previously used to edit theme files directly.
Checkout Extensibility is built on Shopify’s latest platform technology, with two times faster checkout interactions and page transitions that increase conversion by over 1% on average.
“Speed is a big part of the reason we went with Checkout Extensibility in the first place,” says Jake Fox, senior ecommerce developer at Monos. “Faster checkouts make buyers more confident in their purchases, which helps us improve conversion and reduce checkout abandonment.”
What you can customize in Shopify Checkout
What's available depends on your plan. Basic checkout styling is open to all store owners, while retailers who want app placements on core checkout pages and advanced branding can sign up for Shopify Plus.
Here’s a breakdown of the tools available to customize your Shopify checkout, according to your tier:
| Shopify Checkout customization method | Use for | Plans |
|---|---|---|
| Checkout and accounts editor | Visual/editor workflows: Logos, fonts, colors, background images | Basic or higher |
| Checkout Blocks | Custom banners, custom fields, upsells, and conditional logic | Basic or higher for basic blocks; Plus for extra functionality |
| Checkout apps: Thank you, order status, and account pages | Post-purchase content like upsells and loyalty programs | Basic or higher |
| Checkout apps: Information, shipping, and payment pages | Custom fields, gift messages, banners, free gift offers at checkout | Plus |
| CheckoutBranding API | Advanced visual control: Typography, border radius, color schemes, favicons | Plus |
| Shopify Functions | Back-end logic: custom discounts, shipping rules, payment methods, cart validation, order routing | All plans (via apps); custom (Plus) |
| Custom app development | Checkout extensibility using custom built apps using UI extensions | Plus (to place custom apps at checkout) |
| Pixels | Checkout behavior tracking and pixel management | Basic or higher |
Any customizations made with Checkout Extensibility integrate seamlessly with Shop Pay. This means brands can add all of their customizations to Shop Pay with just a few clicks, creating a consistent experience across guest checkout and Shop Pay.
This allows businesses to maintain consistent branding by surfacing business-portal customizations in express checkouts. It also allows them to tap into Shop Pay’s 50% higher conversion rates and 77% higher purchase intent.
Customize your checkout branding in the checkout and accounts editor
Here’s how to add your own branding and customize Shopify checkout.
To access customization, go to Settings > Checkout. In the Configurations section, click Customize.
Update logos, colors, fonts, and layout
Make basic customizations to extend your brand identity throughout checkout. Use the checkout and accounts editor to customize:
- Fonts
- Logos
- Colors
- Layouts
- Background
- Discount code field visibility (three-page layout only)
- ”Buy again” button (Plus only)

When to use the CheckoutBranding API instead
To make advanced customizations to the look of your checkout, use the CheckoutBranding API. While this likely means working with a developer, it opens the door to more possibilities. You can:
- Add a favicon to the browser tab at checkout
- Control the border radius on buttons and fields in their checkout
- Adjust the header layout, including breadcrumb visibility, cart link display, and logo position
- Configure button styles including padding, border, and corner radius independently from other elements
- Apply color schemes to individual sections; for example, styling the order summary sidebar differently from the main checkout area
Add checkout functionality with apps and Checkout UI extensions
Checkout UI extensions and integrated apps give brands the flexibility to add new functionality to their checkout, whether you need to collect additional information from buyers or add a loyalty program.
Use apps when an off-the-shelf solution exists, and custom app development when you need something unique.:
Use prebuilt checkout apps to add banners, gift messages, loyalty elements, and upsells
Checkout apps let you place functional blocks anywhere in the checkout flow—on the information, shipping, and payment steps (Plus only), in the order summary, or on the thank you page—using the checkout and accounts editor.
These apps are configured in the checkout and accounts editor, and you can drag and drop them wherever you’d like them to appear. The apps automatically inherit any pre-set brand settings.
Use cases include:
- Adding custom content, like a banner that notifies customers you don’t ship to PO boxes
- Collecting additional information, like a gift message or delivery instructions
- Upsells placed on the information, shipping, or payment steps using checkout app blocks (Plus only); for example, "Add this item to your order before you check out"
- Field validation to halt progress when required conditions aren’t met; for example, displaying an error message when a shipping address conflicts with your shipping rules
- Post-purchase surveys that ask customers how they heard about you
House of Chikankari displays loyalty reminders at checkout using the Smile app. Aishani Sapra, founding team member and head of marketing, says this reminder at checkout “really makes it easy for the customer to understand the benefits of the program and nudges them to convert faster.” The result: 23% more customers returning to the store.
Use custom apps to make adjustments at checkout
If no existing app matches your specific needs, your developers can use Checkout UI extensions to build functionality specific to your business. Once built, you place the extension the same way as checkout apps, using the Shopify checkout and accounts editor.
Venus et Fleur, for example, customized their Shopify checkout to add a date picker.
“We implemented a custom checkout calendar that allows customers to select specific delivery dates,” says head of ecommerce Brendan Gorman. “This feature has reduced abandoned checkouts and increased the likelihood of purchase by over 12%.”

Customize thank you and order status pages
Once customers have completed checkout, customize the next content they see: ”Thank you” messages and order status pages.
Post-purchase apps and blocks
Thank you and order status pages are part of the same Shopify checkout and accounts editor. Shopify retailers on Basic and above can add app blocks to both of these pages directly from the editor, with the same drag-and-drop placement used elsewhere in checkout.
Apps that support the thank you and order status pages can be installed from the Shopify App Store and placed via the editor. Use this to add app blocks for:
- Loyalty program prompts
- Referral offers
- Discount codes for a next purchase
- Post-purchase surveys
- Branded order-confirmation content
Post-purchase extensions
Post-purchase extensions render special interstitial pages that appear after the payment step, but before the thank you page loads. This is specifically designed for one-click upsell offers that give the buyer a chance to add a product to their order without reentering payment details.
Note: Post-purchase extensions are currently in beta. You can use them with restrictions on a development site, but will need to request access to use them on a live store.

Add back-end logic with Shopify Functions
Custom logic lets you add custom discounts, discount combinations, shipping rules, and payment methods. You can add it to Shopify Checkout by installing apps built with Shopify Functions, a tool that allows developers to extend or replace key parts of Shopify’s back-end logic with custom code.
Customize discounts, shipping, payment methods, and validation
Shopify Functions covers four categories of back-end customization. Each maps to a specific part of the checkout experience:
- Discounts: Create new discount types, build custom discount combinations, and validate discount codes.
- Shipping options: Hide, rename, or reorder shipping options at checkout; generate custom delivery options including local pickup and pickup points.
- Payment methods: Hide, reorder, rename, or set payment terms for payment methods based on cart conditions; add review requirements for B2B checkouts.
- Cart and checkout validation: Block checkout progress when conditions aren’t met, surface error messages at the field or page level, and enforce order rules such as quantity limits per cart.
Know when public apps are enough and when custom apps are needed
Stores on any plan except Shopify Starter can install prebuilt apps and configure them without any development work required.
Custom apps containing Shopify Function APIs are for businesses on Shopify Plus. Take advantage of this option if you need a custom app to fit your requirements. A developer can build logic specific to your business, such as a pricing rule tied to customer metafields or a validation that enforces B2B purchase minimums per product category.
Track checkout performance with pixels
Pixels are scripts that run in the background of your store to track customer events, including what shoppers do at each step of checkout, on the thank you page, and on the order status page.
With pixels in Shopify, brands can securely manage all their pixels from a single location, including pixels that track events at checkout.
There are two ways to do this:
- App pixels are installed through marketing and analytics apps from the Shopify App Store. They automatically load across the storefront, checkout, thank you page, order status page, and customer accounts pages, and include built-in tools for privacy compliance and consent management.
- Custom pixels are added manually by a developer in the pixel manager. Use this when no app covers your specific tracking requirements. Make sure to request consent in regions where customers must explicitly opt into tracking.
How to use checkout pixel data
Here’s how to use pixel data from Shopify checkout:
- Retargeting and paid media optimization: Build retargeting audiences of buyers who started checkout but didn’t complete it.
- Abandoned checkout recovery: Display the exact items a customer has in their cart, including value and currency, in personalized cart recovery campaigns.
- Conversion funnel analysis: See progression of checkout events to pinpoint exactly where buyers are dropping out. Prioritize these friction points in future checkout customization.
- Purchase attribution: View order value, discount codes, and shipping selection to analytics to attribute sales to traffic sources, marketing campaigns, discounts, or a combination of sources.
- Customer segmentation: Use checkout data to build segments of first-time buyers and repeat purchasers. Feed this into marketing automation tools to personalize the post-purchase experience.
Customize checkout layout: One-page vs. three-page checkout
Three-page checkout breaks the process into three steps: an information page, a shipping page, and a payment page. Buyers move through them sequentially with a progress indicator at the top of each page.
With one-page checkout, all three steps happen on a single page. Shoppers can see and complete everything without navigating between steps. One-page checkout is the default for all Shopify stores, but you can switch between one- and three-page options within the main checkout and accounts editor.
Grocery brand Stellar Eats, for example, noticed their customers were accustomed to paying for groceries in physical stores with a single tap, so they switched to a one-page checkout to approximate that convenience online.
Since enabling one-page checkout, Stellar Eats noticed online shoppers were completing checkout faster and abandoning carts less often. Online conversion rates increased by 3.5%, with the brand projecting tens of thousands of dollars in additional revenue as a result of the adjustment.
“One page checkout is a game-changer for reducing friction—especially with shipping automatically calculated right in front of you,” explains cofounder and chief product officer Emma Kula.
Read more
- Guest Checkouts: Definition, Benefits, and Best Practices
- One-Page Checkouts: Definition, Benefits & Optimizations
- 12 Checkout Process Optimization Tips to Increase Ecommerce Revenue
- 11 Ecommerce Checkout Best Practices: Improve the Checkout Experience and Increase Conversions
- What 1-Click Checkout Can Do for Your Small Business
- How to Create a Good Checkout Experience: 11 Steps
- How to Optimize Your Mobile Checkout Flow
Customize Shopify checkout FAQ
How do I customize my Shopify checkout?
Checkout customization is managed from Settings > Checkout in your Shopify admin. From there, click Customize next to your checkout configuration to open the checkout and accounts editor, where you can adjust branding, install apps, and place blocks across your checkout, thank you, order status, and customer accounts pages.
What checkout customizations require Shopify Plus?
The following Shopify checkout customization options are only available with a Shopify Plus plan:
- App blocks on the information, shipping, and payment steps of checkout
- Advanced branding via the CheckoutBranding API
- Checkout Blocks branding editor (no-code interface for the Branding API)
- Custom apps containing Shopify Function APIs
- Building custom Shopify Functions for bespoke back-end logic
- Buy again button on the order status page
What is the Shopify checkout and accounts editor?
The checkout and accounts editor is a tool in your Shopify admin that lets you customize the appearance and functionality of your checkout, thank you page, order status page, and customer accounts pages in one place, separate from your theme editor.
Do I need a developer to customize the Shopify checkout page?
Branding, app blocks, and no-code tools like Checkout Blocks can all be configured without development work. A developer is needed for advanced use cases such as the CheckoutBranding API, custom Shopify Functions, or building a bespoke checkout app.
What happened to checkout.liquid?
Checkout.liquid is no longer the standard path for checkout customization. —It was sunset on August 28, 2025, and replaced with Checkout Extensibility. This new functionality lets brands use apps, branding tools, and Shopify Functions to customize checkout through Shopify’s native checkout and accounts editor.